Building a Lightweight 1S Micro Quad for Model Railway Flying
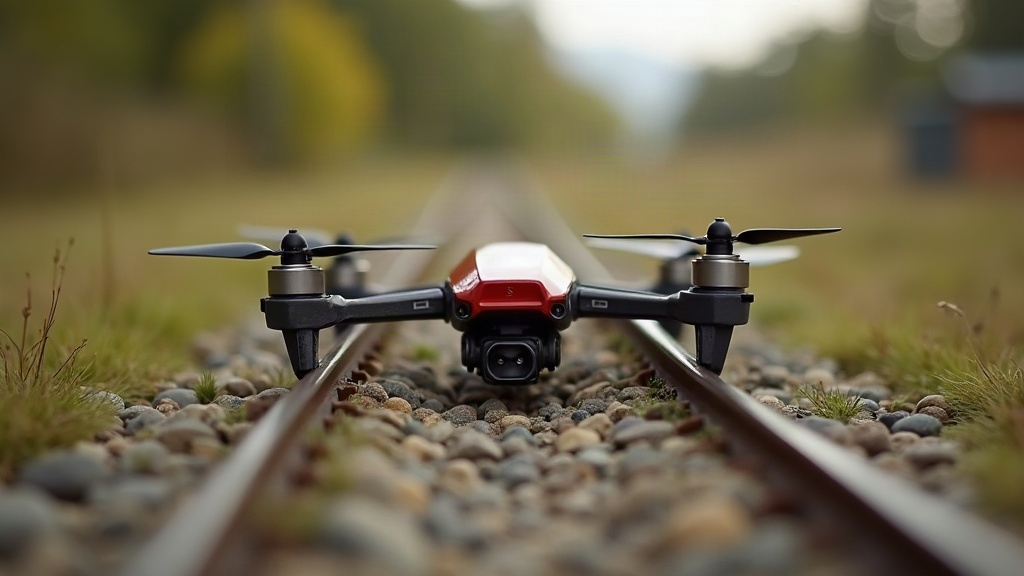
Flying a drone through a model railway layout sounds like a novelty trick, something you’d do once for a YouTube clip and never again. But it’s actually one of the toughest tests of precision micro-quad piloting out there. Buildings, overpasses, signal gantries, tunnels: all of it crammed into a dense obstacle course at a tiny scale. The quad has to be small, light, and forgiving, because there’s no room for error when your “runway” is a sidewalk built for 1:87 scale pedestrians. This guide walks through building a lightweight 1S micro quad tuned specifically for weaving through HO, O, or G-scale layouts without flattening a station or snapping a catenary wire.
Why 1S Is the Right Choice
A 1S (single lithium cell) micro quad is the natural fit for this kind of flying, and not just because it’s cheaper. A few reasons stand out:
- Weight: Most 1S whoops weigh between 20 and 35 grams. That’s light enough to survive a tap against a plastic building without destroying it, or itself.
- Size: Frame sizes in the 65mm-85mm prop range fit between HO-scale structures that a larger 2S or 3S quad simply can’t navigate. Try squeezing a 3-inch frame under a model overpass and you’ll see the problem immediately.
- Power curve: 1S motors deliver gentle, controllable thrust. Full-size racing quads are twitchy and overpowered for threading through 1:87 scale streets, kind of like trying to parallel park a sports car in a shoebox.
- Crash safety: Lower kinetic energy means fewer broken resin buildings, bent track, or snapped trees.
If your goal is cinematic low-level flying through a layout rather than chasing top speed, 1S is almost always the better platform than 2S.
Choosing the Frame and Motors
Look for a 65-75mm brushless whoop frame with full duct protection. Ducted props aren’t optional here. They protect both the propellers and your scenery when things get tight, and in a model town, things get tight constantly.
- Motors: 0802 or 1102 brushless motors in the 15,000-19,000KV range balance punch with controllability.
- Props: Tri-blade 40mm or 31mm props depending on frame size. Tri-blade gives better low-speed authority, which matters more here than raw efficiency.
- Flight controller/ESC stack: A combined AIO board under 5g keeps all-up weight low. Aim for a total build weight under 28g without battery.
Battery Selection
A 1S 300-450mAh HV LiPo is the sweet spot. Bigger batteries buy you more flight time, sure, but they also add weight and bulk, and that hurts maneuverability in tight layout corridors fast. Keep spares charged. Flying precise lines through scenery eats battery quicker than you’d expect, since you’ll spend most of your flight hovering and micro-adjusting rather than cruising in straight lines.
Camera and VTX Setup
For threading tunnels and ducking under bridges, a low-latency analog FPV system (even a basic 25mW VTX) usually beats digital HD, which adds both latency and weight you don’t need. A 1/3” CMOS camera with a wide FOV (150°+) helps you spot obstacles earlier when you’re flying at scale-accurate heights of just a few centimeters off the table.
Tuning for Precision, Not Speed
Default racing tunes are way too aggressive for this kind of flying. You want stick inputs that feel slow and progressive, not snappy:
- Lower your max rotation rate to around 200-300°/s on roll and pitch.
- Reduce expo slightly for finer control near center stick.
- Increase filtering to smooth out motor response. Crisp but gentle is the goal, not sluggish.
- Practice in Acro or a soft Angle mode, depending on your skill level. Angle mode is often the safer choice for threading tunnels since it self-levels after a bump instead of letting you tumble into a signal box.
Protecting the Layout While You Fly
- Remove or temporarily relocate fragile scenery (trees, figures, signal arms) for your first few passes.
- Fly low-altitude “ghost runs” without the props spinning first. Walk the route mentally before committing to it at speed.
- Use painter’s tape to mark safe flight corridors if you’re filming for video.
- Keep a spare set of props on hand. Ducted or not, scrapes happen, usually right when you think you’ve nailed the line.
Common Mistakes to Avoid
- Going too big: A 3-inch quad might look cool on paper, but it won’t fit under most overpasses.
- Skipping ducts: Open props at this scale will clip buildings and track constantly, no matter how careful you think you are.
- Overpowered motors: High-KV racing setups make fine control nearly impossible indoors.
- Ignoring prop balance: At these small sizes, even a slight imbalance causes vibration that ruins your FPV footage, turning a smooth pass into a shaky mess.
Conclusion
A well-built lightweight 1S micro quad turns a static model railway layout into an immersive, flyable miniature world. Prioritize ducted props, sub-30g builds, gentle tuning, and a wide-FOV camera, and you’ll be threading tunnels and buzzing stations with real confidence before long. Start slow, protect your scenery, and the payoff, smooth, cinematic footage weaving through a tiny town, is more than worth the careful build process.