DIY Landing Pad Materials for Mini Drone Motors
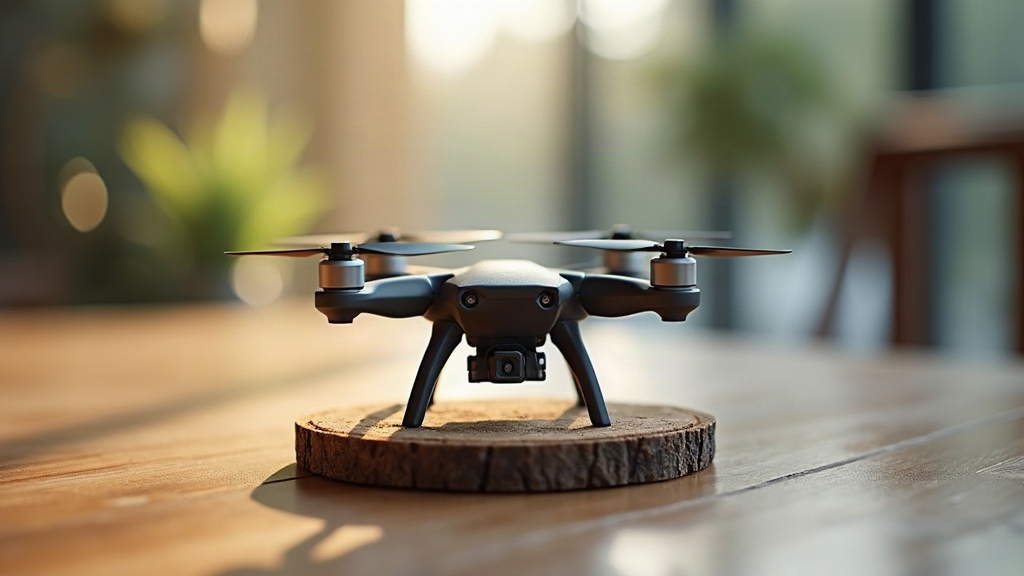
DIY Landing Pad Materials That Keep Grass Clippings Out of Mini Drone Motors
If you fly off lawns, fields, or any patchy ground, a landing pad isn’t a luxury. It’s cheap insurance. A decent pad gives you a clean takeoff and landing zone, so the prop wash doesn’t spray wet clippings, seeds, dust, or gravel straight into your motors and gimbal.
Why Mini Drones Need a Landing Pad
Mini drones hover close to the ground, and their downward airflow is stronger than most people expect. Take off from short grass and that blast can flick loose clippings right into the propellers and motor vents.
One stray blade of grass won’t kill your drone. But this stuff adds up over time, and here’s what tends to go wrong:
- Grass wraps around motor shafts or propeller hubs.
- Damp debris sticks inside the motor openings.
- Small stones chip the propellers on takeoff.
- Dust and seeds build up around the gimbal.
- Uneven ground tips the drone over after landing.
A landing pad matters most for lightweight, low-clearance models: DJI Mini series, Potensic Atom, HoverAir drones, and similar compact camera drones.
Best DIY Landing Pad Materials
Which material wins depends on your priorities: how portable it needs to be, how much weather it has to survive, and how rigid the surface should stay.
Corrugated Plastic Sheet
Corrugated plastic (sold as sign board or Coroplast) is probably the best all-around DIY pick. Light, water-resistant, easy to cut with a utility knife, and stiff enough to lie flat even on short grass.
A 24-by-24-inch sheet handles most mini drones fine. If it’s windy, push small tent stakes through reinforced corner holes, or just weigh the corners down with a couple of rocks.
Best for: Backyard flying, travel, damp grass. Potential drawback: Flexes and bends in strong wind unless you pin it down.
EVA Foam Exercise Mat
Closed-cell EVA foam, the kind used for interlocking gym tiles or camping mats, gives you a soft, grippy surface that keeps the drone from sliding after it touches down.
Go for the firm, smooth foam, not the textured puzzle tiles with deep grooves. Grooves trap dirt and grass over time, which defeats the purpose.
Cut a square roughly 24 to 30 inches wide and mark a high-contrast center circle with weatherproof tape or paint so you can spot the landing zone from altitude.
Best for: Calm days, pilots who want some cushion under the drone. Potential drawback: Light foam can lift or fold up in a breeze.
Outdoor Vinyl Flooring Offcut
Got a leftover scrap of vinyl flooring lying around the garage? That works. It’s waterproof, wipes clean in seconds, and heavy enough to stay put without stakes.
Stick to a smooth, flexible sheet rather than thick rigid planks. A flexible piece rolls up for transport and still keeps grass and mud away from the drone.
Best for: Wet lawns, garden flying, fast cleanup. Potential drawback: Vinyl can curl at the edges if you store it rolled up too long.
Foldable Reflective Windshield Sunshade
A car windshield sunshade might be the most portable option on this list. Most fold into a small pouch, many are circular, and the reflective face is easy to spot from above.
Cover the sharp edges with fabric tape for durability, and sew or tape on four small loops so you can stake it down. Skip the thin metallic ones; they tear around the edges fast.
Best for: Travel, occasional flights. Potential drawback: Glare off the reflective surface in bright sun.
Plywood or Lightweight Hardboard
Long, tall, or uneven grass calls for something rigid. A 1/4-inch plywood square lifts the drone well clear of the clippings and won’t budge in wind.
Seal it with exterior paint, polyurethane, or waterproof varnish (skip this step and the board will warp after a couple of wet mornings). Add a carry handle, round off the corners, and stick rubber feet underneath if this becomes a regular-use item.
Best for: Long grass, rural sites, heavier wind. Potential drawback: Bulkier to carry than foam or plastic.
Materials to Avoid
Not everything flat is safe to launch from. A few materials will actually make the debris problem worse.
- Loose fabric or towels: prop wash pulls the fibers straight up.
- Artificial turf: sheds plastic fibers into the motors.
- Cardboard: goes soft the moment it gets damp.
- Thin paper posters: tear and blow away almost instantly.
- Metal trays: heavy, sharp-edged, and can throw off the compass if placed too close to the drone during startup.
A Simple DIY Landing Pad Build
Want something quick and durable? Corrugated plastic and a roll of gaffer tape will do it in under 20 minutes.
What You Need
- One 24-by-24-inch corrugated plastic sheet
- Bright gaffer tape or waterproof vinyl tape
- Utility knife and ruler
- Four small tent stakes or corner weights
- Optional reflective tape for low-light visibility
Build Steps
- Cut the sheet into a square, rounding off the corners.
- Tape the perimeter with bright tape so the pad’s easy to spot from the air.
- Mark a centered landing target, a circle or a big “H” works fine.
- Reinforce each corner with extra tape.
- Punch a small hole in each reinforced corner if you’re using stakes.
- Test it on grass before you actually fly, just to make sure it lies flat.
Keep the pad a few feet clear of loose gravel, dry leaves, and dusty patches. It only protects the drone properly if the ground around it is reasonably clean too.
Keep Motors Clean After Flying
Even with a pad under it, check your mini drone after every session on grass. Power it off, pull the battery, and inspect the motor openings and propeller hubs under good light.
A soft air blower or an electronics brush does the job. Don’t spray any lubricant into brushless motors unless the manufacturer explicitly says to; most don’t need it, and the wrong stuff can gum up the bearings.
Conclusion
A DIY landing pad is one of those small, unglamorous accessories that quietly saves your motors from dirt, grass, and moisture. Corrugated plastic, EVA foam, vinyl flooring, sealed plywood: all of them work, so pick whichever fits your flying spots and how much gear you’re willing to carry.