How to Film Kayak Fishing Launches With a Waterproof Drone Case
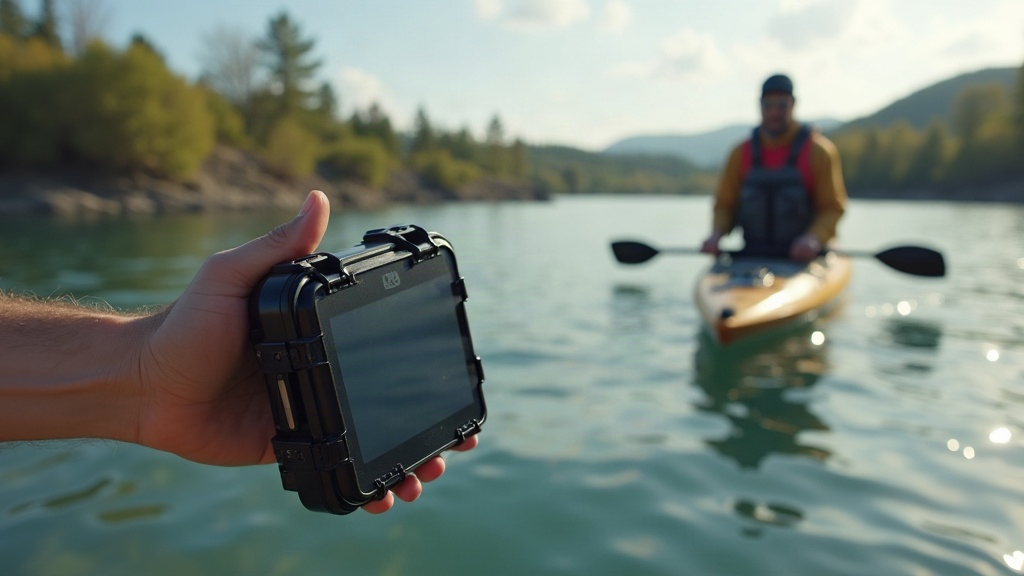
Filming kayak fishing launches with a waterproof drone case lets you capture dramatic water-level footage while cutting the odds of a ruined drone during splashes, shallow-water takeoffs, and soggy recoveries. The best results come from planning the launch sequence ahead of time, picking a stable filming position, and treating the waterproof case as protection, not as a green light to take risks you’d otherwise avoid.
Why Use a Waterproof Drone Case for Kayak Launch Footage?
A kayak launch is usually fast, messy, and genuinely fun to watch. Paddles slap the water, the kayak slides off a shore or ramp, and the angler goes from fumbling with gear to actually fishing in under ten seconds. A drone can catch that transition from angles a shore-mounted camera simply can’t reach.
A waterproof drone case earns its keep when filming in:
- Shallow lake edges with waves or boat wake
- Rocky river put-ins where gear gets set down on wet ground
- Sandy beaches with incoming surf
- Marshes and tidal flats
- Rainy or high-humidity fishing conditions
Worth being clear about the case’s actual job here. Most waterproof cases protect a drone during storage, transport, and a brief brush with wet conditions. They don’t turn any drone into something you can fly in rain or land on water. Read the manufacturer’s fine print before you head out.
Choose the Right Waterproof Case Setup
A good case protects more than just the drone body. It should also keep batteries, controller, propellers, filters, and small recovery tools organized so you’re not digging through a mess of loose parts at the water’s edge.
Look for these practical features:
- IP-rated waterproof sealing: An IP67-rated hard case handles temporary immersion and dusty shorelines without flinching.
- Custom foam inserts: Stops the drone and batteries from rattling around during the drive out.
- Pressure equalization valve: Handy when you’re moving between elevations or big temperature swings.
- Corrosion-resistant hardware: Saltwater eats cheap metal latches surprisingly fast, sometimes within a single season.
- Space for a dry cloth and silica packs: Condensation shows up fast after stepping out of an air-conditioned truck into humid air near the water.
For a compact drone, a case that tucks into the rear storage well of a fishing kayak can work well. Just secure it with a leash or strap. A hard case that slides loose mid-launch becomes both lost gear and a floating hazard someone else has to paddle around.
Plan the Shot Before the Kayak Reaches the Water
The best kayak launch shots are almost never improvised on the spot. Before you even open the waterproof drone case, walk the area and figure out where the launch will actually happen.
Ask yourself:
- Where will the kayak enter the water?
- Is there a clear spot for the drone to take off and land?
- Which direction is the wind blowing?
- Will the sun glare off the water or turn the angler into a silhouette?
- Are there trees, power lines, docks, or boats sitting in the flight path?
- If the launch goes sideways, can you recover the drone safely?
A quick shot plan saves you from burning battery on footage you’ll never use. You might open with a wide overhead of the shoreline, drop to a low side angle as the kayak slides in, then finish with a smooth pull-back as the angler starts paddling toward open water. Three shots, maybe ninety seconds of flight time, and you’ve got a real sequence.
Best Drone Angles for a Kayak Fishing Launch
Low Shoreline Reveal
Position the drone low, just above the sand, rocks, or grass, pointed at the kayak. As the angler pushes off, rise slowly and drift backward.
This angle works because it shows the wider fishing spot without losing the human element in the frame. Keep enough distance that a stray paddle stroke or a splash of spray can’t reach the drone.
Top-Down Gear Layout Shot
Before the kayak even moves, grab a short vertical overhead of the rods, tackle box, paddle, fish finder, and safety gear laid out in the boat.
It gives a fishing video useful context and doubles as a clean transition right before the action starts. Shoot it while the kayak is still parked and steady on land, not bobbing in the shallows.
Side Tracking Shot
Once the kayak’s on calm water, fly parallel to it. Keep a safe distance and match its speed as the angler takes those first few paddle strokes.
Fly at a moderate height rather than skimming inches off the surface. Water reflections mess with depth perception, especially in soft morning light, and that’s exactly when drones clip the water.
Rising Establishing Shot
Start low behind the kayak, then climb gradually as it pulls away from shore. This opens up the lake, river, marsh, or coastline and gives the sequence a real sense of scale, the kind you can’t get from ground level.
Avoid climbing straight up over people or other boats. A diagonal rise is safer and, honestly, looks more natural on camera too.
How to Launch Safely Near Water
The safest spot to launch is firm, dry ground a few steps back from the shoreline. If that’s not an option, use a portable landing pad or a flat, stable rock.
Run through this before every flight:
- Pull the drone from the waterproof case and wipe off any moisture.
- Check the propellers for sand, grass, or hairline cracks.
- Confirm batteries are fully seated, not just resting in place.
- Set the home point only once you’ve got a strong GPS lock.
- Check wind speed at drone altitude, not just what you feel standing on the ground.
- If the launch action happens fast, start recording before takeoff, not after.
- Keep the drone in your line of sight the whole flight.
Don’t rush just because the kayak’s already drifting off. It’s better to miss one take than to force a shaky takeoff from an unstable dock, a wet kayak deck, or a moving boat.
Protect Your Equipment From Spray and Saltwater
Freshwater spray can still do damage, but saltwater is a different animal. It leaves a conductive residue that corrodes connectors and motors even after the drone looks bone dry.
Filming near the ocean or brackish water? Do this:
- Keep the waterproof drone case shut whenever the gear isn’t actively in use.
- Never set batteries directly on wet sand or a damp kayak seat.
- Dry the aircraft with a microfiber towel before packing it back up.
- Wipe the exterior down after the session with a lightly dampened freshwater cloth.
- Let everything dry fully before charging batteries or putting them away long-term.
A small dry bag inside the kayak can carry a towel, a spare battery, a mini landing pad, and a lens cloth. It’s a lot lighter than hauling the hard case on every paddle out, while the case still earns its place for getting gear to and from the launch site.
Capture Better Audio and Storytelling
Drone footage looks great, but the onboard audio is basically propeller noise and wind. Record natural sound separately, with an action camera, a wireless mic, or even a phone tucked safely inside the kayak.
Worth capturing:
- The kayak scraping into the water
- Paddle strokes
- Birds and wind along the shoreline
- A short, unscripted intro from the angler
- Tackle and rod noise before the launch
For a stronger sequence, cut the drone footage together with close-up ground shots: hands securing rods, a paddle dipping into the water, the waterproof drone case popping open. These small details make the launch feel like something planned, not just a single aerial clip someone happened to grab.
Conclusion
A waterproof drone case protects gear you’d hate to lose while you’re filming kayak fishing launches in wet, unpredictable conditions. Plan the route, launch from stable ground, favor wide and low-risk angles, and keep protecting your equipment part of the routine, not an afterthought. String together a handful of deliberate shots, and even a simple kayak launch turns into a memorable opening for a fishing film.